18 Jan Step by Step – Use this FREE Tool to Find Out What Keywords Your Website is Ranking for Already
Google Search Console is a great tool!
Did you know there is a free tool that you can use to discover what keywords your website is ranking for?
If you are managing a website then you should be completely familiar with Google’s set of tools for Webmasters, one of these is Google Search Console.
Search Console allows you to ensure that Google can find and crawl the pages of your website, fix any indexing problems and request re-indexing of new and updated content, view Google Search traffic data for your site and receive alerts for any issues that your website may have, such as if your website appears to be hacked, or if the design falls out of favour with Google’s algorithms such as the one for mobile usability.
Understanding how people are finding your website can help with your keyword strategy, identifying which pages or services of your website are most in demand and help you fine-tune your approach. For example, a blog post about a certain topic might be attracting a lot of traffic, this could open an opportunity to insert information on that page that can help to generate revenue, so if this page was about mobile phone cases, you might include a brief review of your top 3 cases from a website like Souq.com, using an affiliate link from their affiliate program so that each purchase will earn you a % of the sale.
Here is a step by step guide on how to use Google Search Console to get keywords that your page is ranking for, if you have ALREADY setup Google Search Console then skip step 1;
Step 1 – How to set up Google Search Console?
- Go to https://search.google.com/search-console/about and sign in with your Google Account.
- Click ADD Property and add your website address. Make sure that you use the correct prefix whether its https or http, this makes a difference, if you have an SSL certificate then make sure you add both of them.
- Verify your ownership either by ensuring that you have Google Analytics or by inserting the HTML Tag into the <head> </head> section of every page of the site. It is always better to use more than verification methods in case one drops out, as Google Console may not notify you if your website verification stops.
Step 2 – Finding the Performance Report

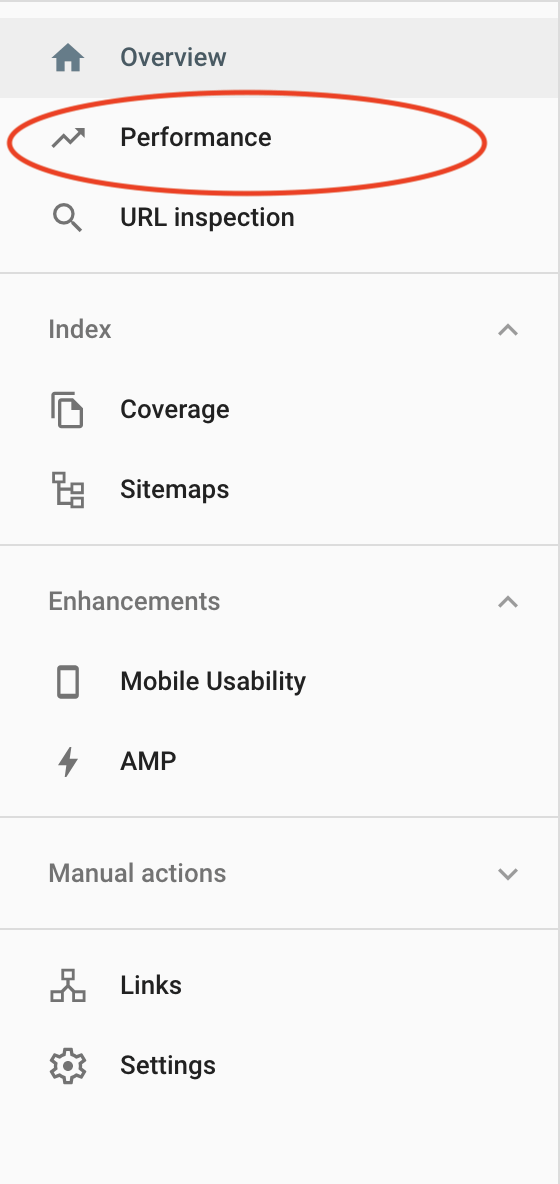
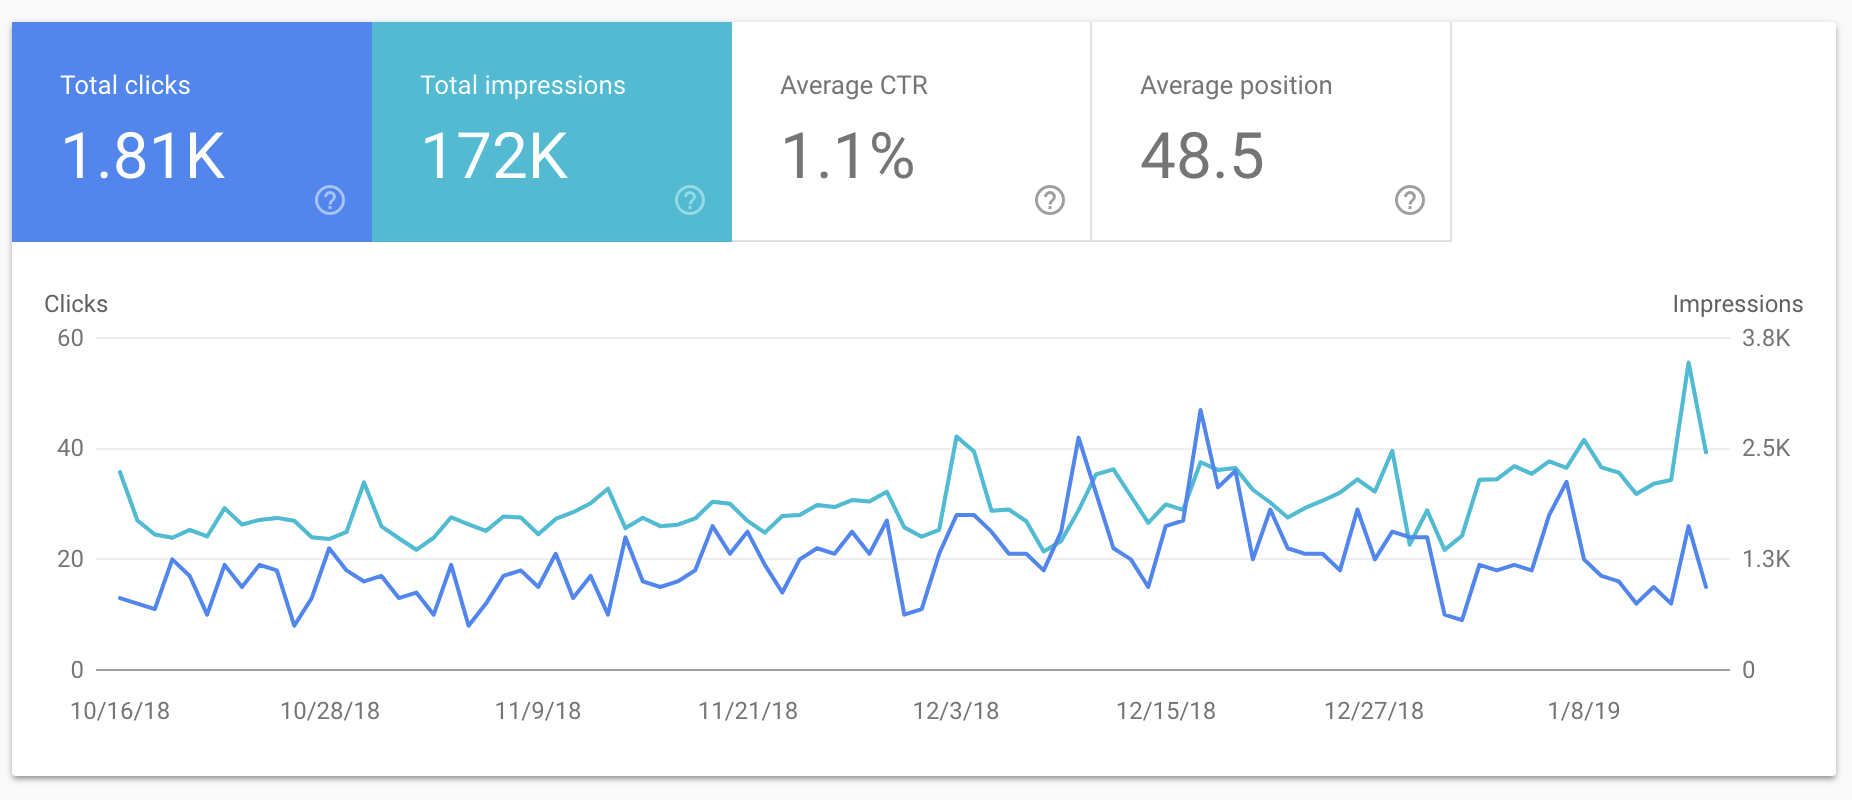
Once you are logged into Google Search Console you will find the menu on the left. Clicking the Performance option will bring you to the Performance Report, which is the section that provides information on the website’s performance, including the impressions, clicks, CTR and average position.
It is important to note the concept of keyword ranking position, since each person using Google receives search results in a way that is based to some degree on their browsing history and online habits, there will be some fluctuation in the rankings from person to person, that is why most rankings are measured using the average, ie. Average Position.
The first thing you will see in the Performance Report section of Google Search Console is the graph below;

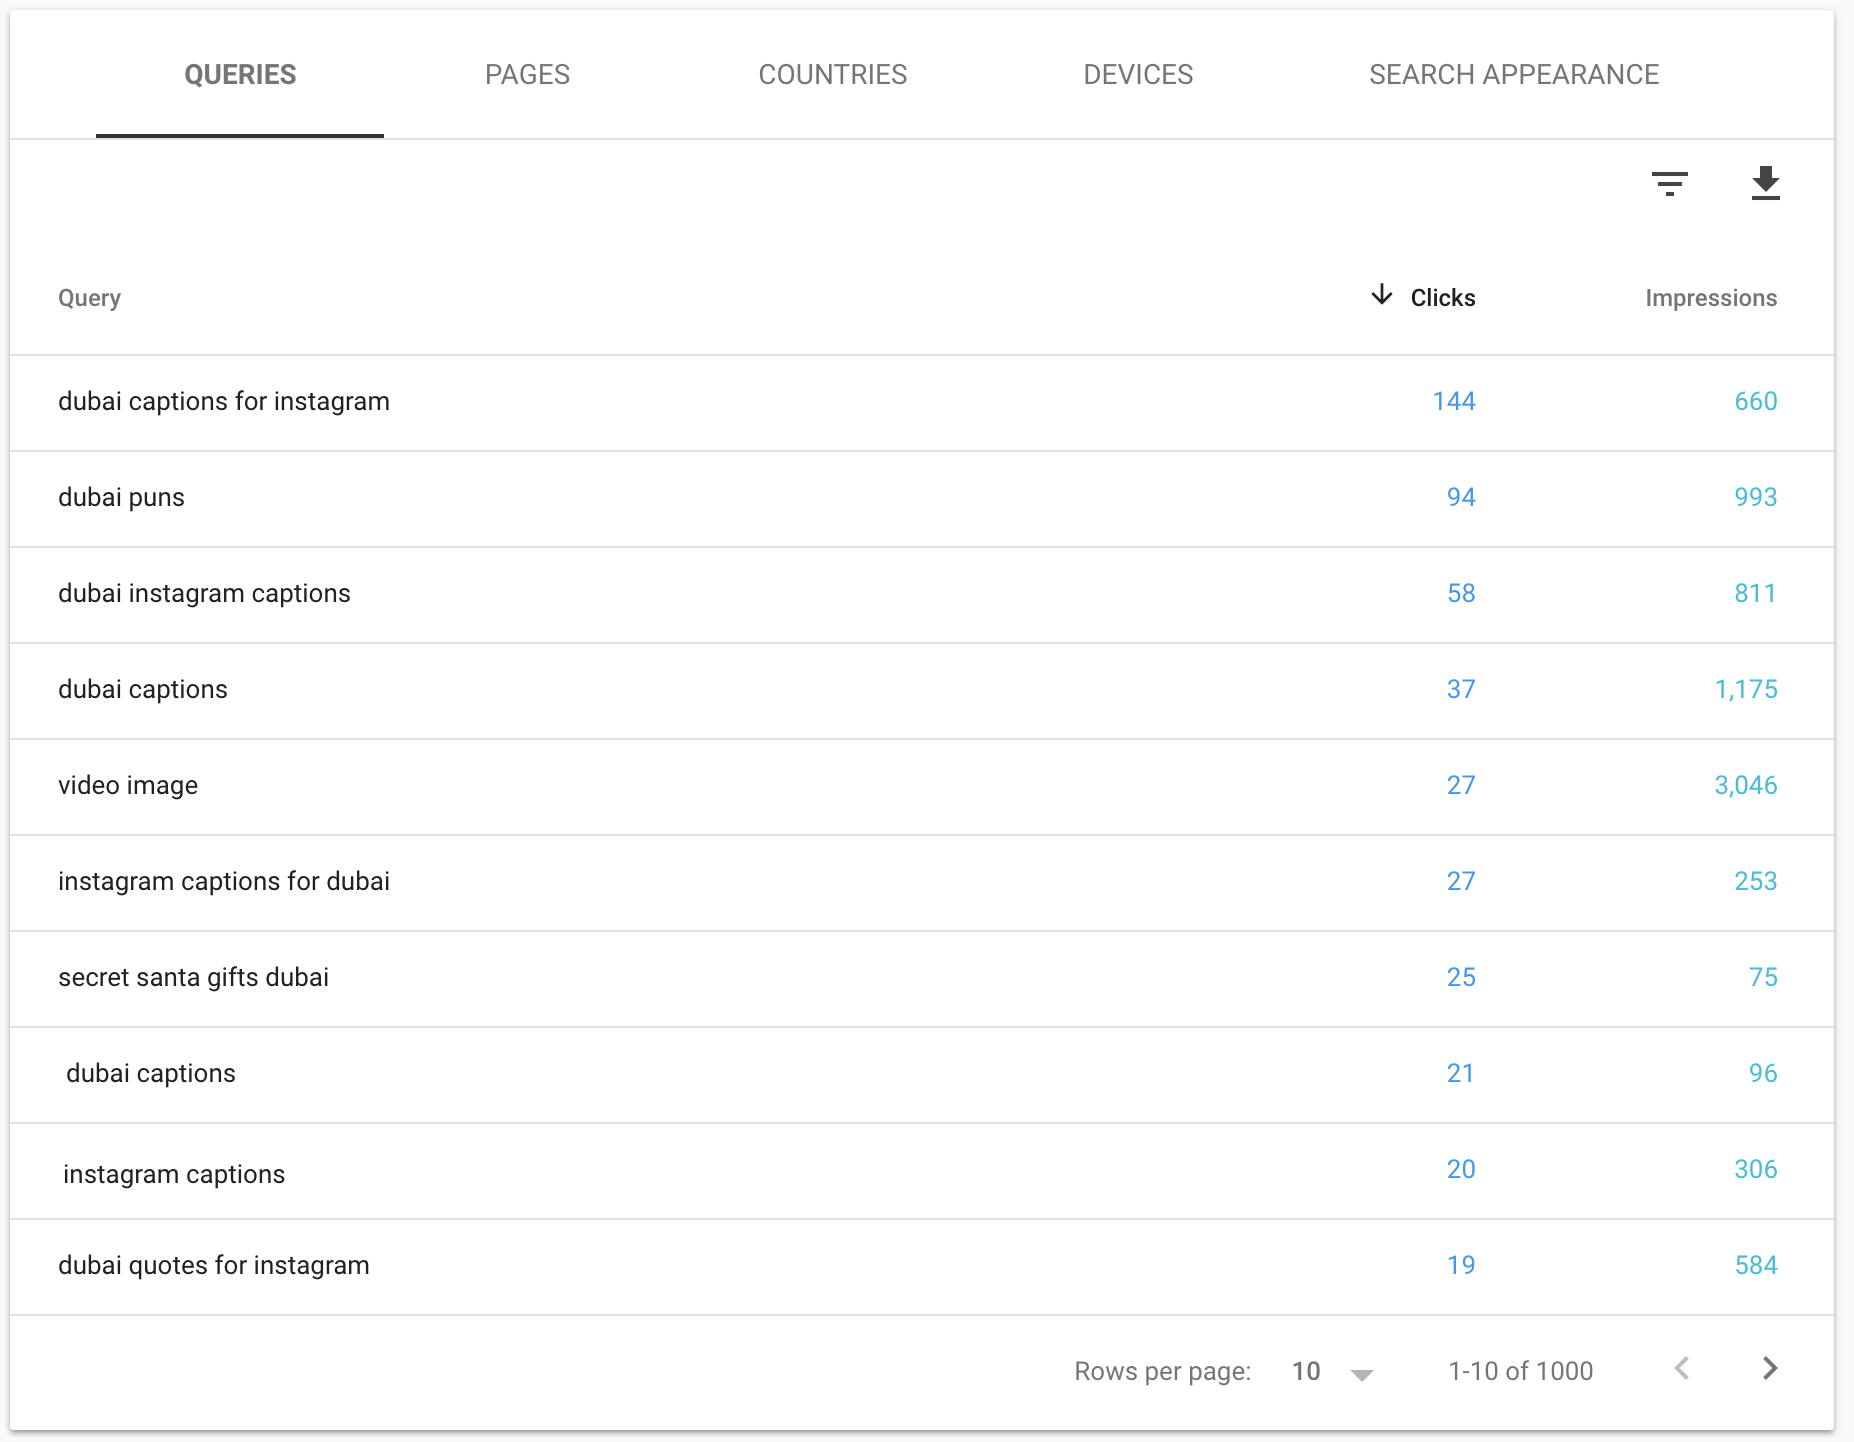
The second part of the report is a table providing the queries, pages, countries, devices and search appearance of your website, this is the table that we will use to get the information that we need:

The data in the graph and indeed the performance report in general can be filtered using the filter section at the top of the page:

Step 3 – Finding the Keywords
There are two areas where you can set the filters, the first is the primary one as above, where you should set the time period and search type, you can leave this at 3 months and ensure the search type is set to Web as below:

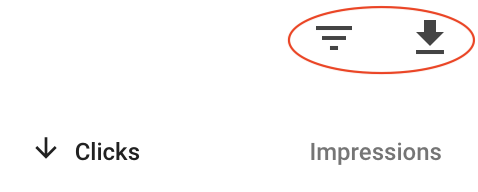
Now at the table, you will see two buttons above the results, one is to add a filter the other is to download the keywords, we will be adding 2 filters here;

Add the first filter:

Depending on the volume of traffic of your website, adding the first filter for Greater Than a base level of impressions helps you to ensure the keywords that come up are somewhat worthwhile, ensure that this number also incorporates the period of time that you are looking it, for this example we are using Greater Than 500 impressions for a 3 month time period, for 6 months we would increase this to 1,000 and so on.
The second filter we will add is for Clicks:

Now the table will show you the keywords that fit the criteria, at the same time you can click the download button which will allow you to get ALL the search engine queries (ie. keywords) for which your website has come up for.


